A lot has happened since the events I wrote about in the last post, Builder Incompetence. In short, I had to completely remove the foundation and start over. The challenge I was presented with was how exactly to move forward once the foundation was removed. I contacted a regionally known builder and asked for an estimate based on my design plans. When I received it, the total cost to build was less than the previous builder, but the question I wrestled with was, “Do I go with them, or do I tackle it as an Owner-Builder?”
When I reviewed the various line-items in the estimate, I identified several areas where I could either reduce the estimated cost, or completely eliminate it if I were to build my home as an owner-builder. Some of the significant areas where I could save as an owner-builder were: the builder fee – $89,900; builder insurance – $10,490; radiant heating – $30,987; flooring – $19,428; foundation drain/damp-proofing/insulation – $13,900. Just these five areas totals $164,705 There are other areas where I can save more if I do some of the things myself, such as site clean up, painting, and so-on. The more I thought about it, the more it made sense to move forward as an owner-builder… specially since I’m living full time on the property in my “Gypsy trailer” and can coordinate and manage the progress and do some of the work myself.
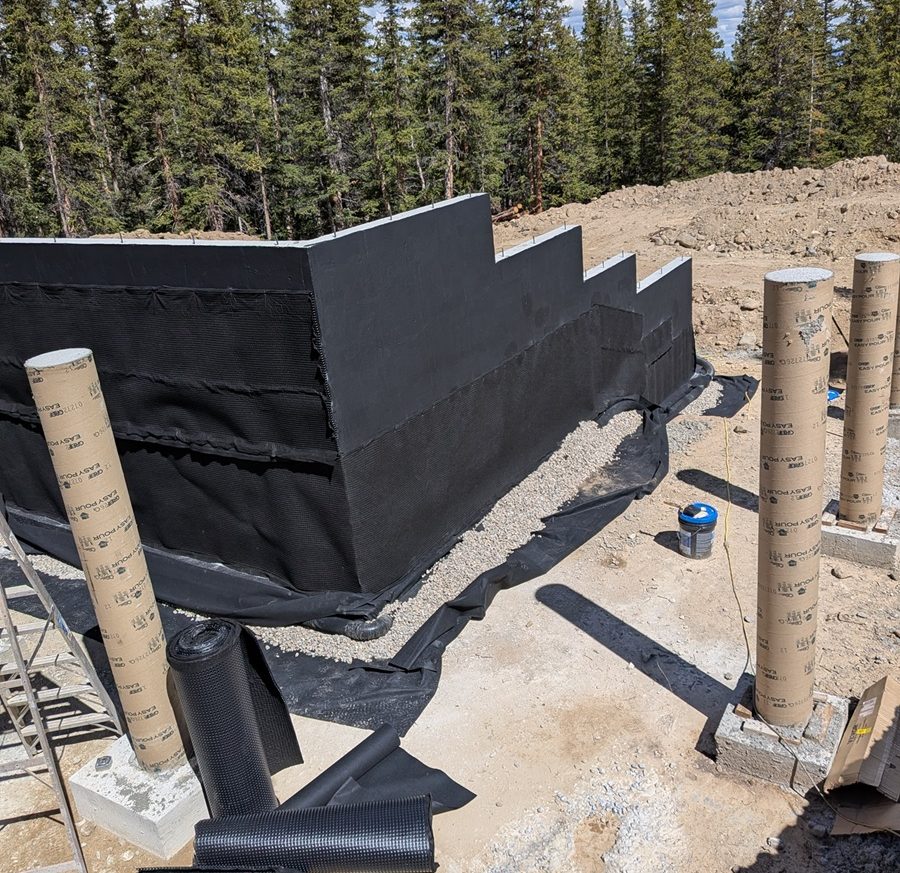
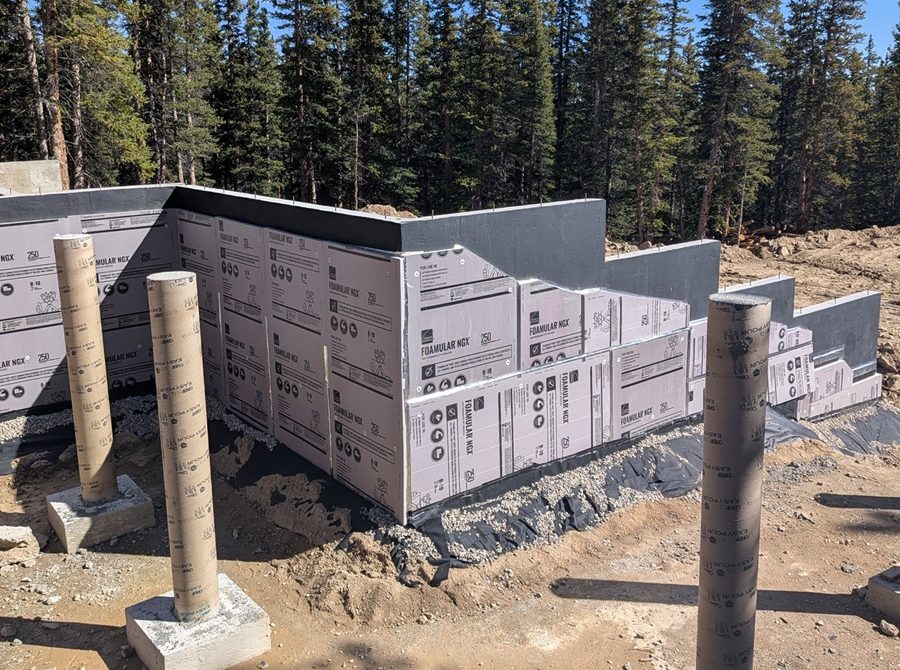
The first item I tackled was the foundation damp-proofing, footer drain, and insulation. The fist step was to apply the damp-proofing. I selected a rubberized foundation sealant that had fibrous material incorporated into it for additional strength and resilience. Of all the foundation work I did, this was by far the easiest. After the damp-proofing was applied, I installed a water-proofing dimple mat system. This wasn’t required, but I wanted the additional protection for the lower level since there is so much ground moisture when the snow melts in the spring. Next, I moved on to the foundation footer drain. This involved laying down 2 – 3 inches of gravel, then the perforated foundation drain, followed by another 12 – 16 inches of gravel… all wrapped in filter fabric. Since I didn’t have any heavy equipment to move the drainage gravel, it became a “labor of love” by moving the gravel in 5-gallon buckets. After the first week of moving gravel for 6 – 8 hours a day, anyone walking by would have thought I had Tourette syndrome. Eventually the glorious day arrived when I no longer had to move gravel in buckets. It was now on to the final step, installing the foundation insulation, which I was able to complete it one day. All of this work took me about three weeks to complete, but despite all the aches and pains, I estimate I was able to save approximately $9,000 by doing this work myself.
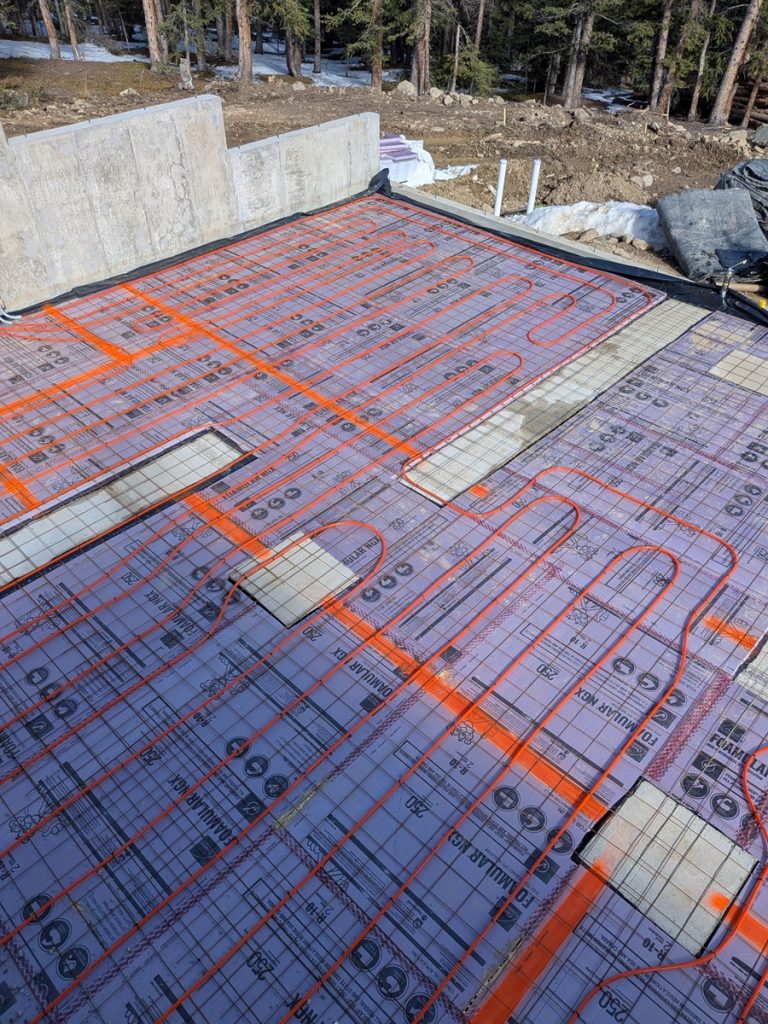
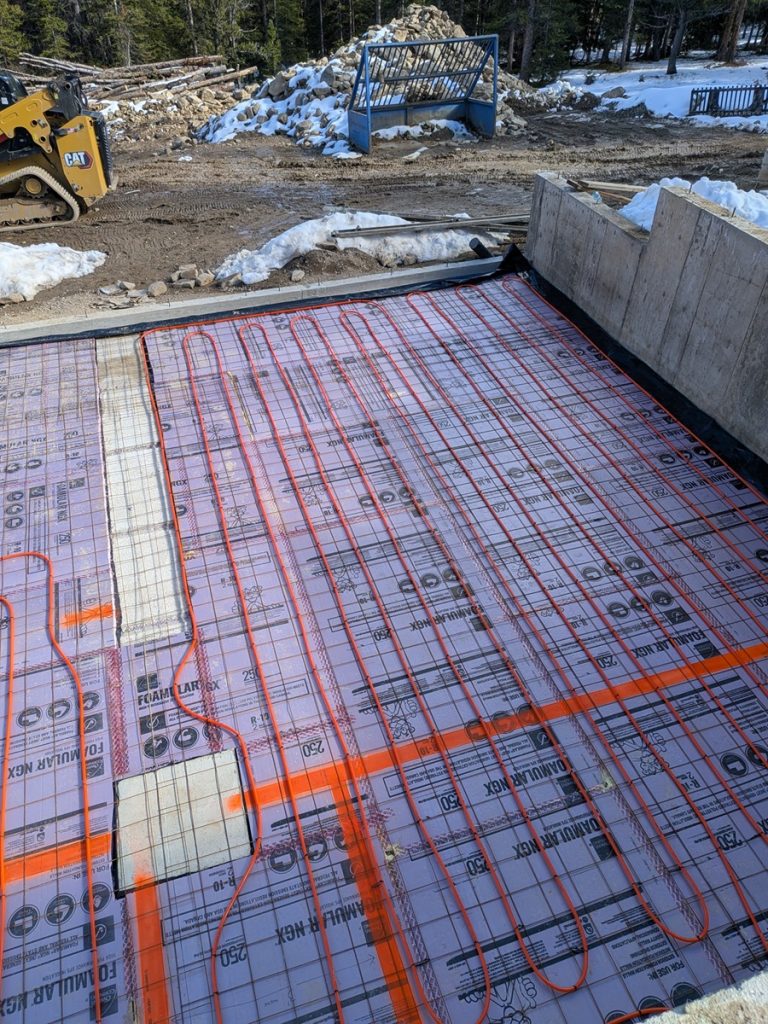
With respect to the radiant heating, I discovered a company called Radiantec when I was researching radiant heating systems. They were incredibly helpful and saved me a ton when it came to my radiant heating system. I sent them a copy of my design plans and they provided me with a complete and detailed breakdown of everything needed, minus the boiler. Based on my plans, they proposed a four-zone design with each zone consisting of two circuits. Their quote included everything! – the radiant pex tubing, the main distribution manifold, four zone manifolds, four hydronic pumps, all the necessary mounting hardware, four-zone relay controller, plumbing mechanical package, and expansion tank. A nice feature of this package was that each zone manifold was built with a pressure gauge and air inflator stem which made the pressure test inspection a breeze. I opted to eliminate the thermostats they were going to provide (total of four, one for each zone) because I want to use specific thermostats for my home automation integration. The entire system they quoted, with shipping came to $6,472.61. Compare this amount to the estimate I received from the regional builder, I achieved a savings of $24,514.39 – not factoring in the boiler. Another huge benefit of working with Radiantec, they provided CAD diagrams of how they recommended the radiant heating lines be laid out for each of the zones, detailing each of the circuits in the zones and spacing of the tubing. Before I could install the radiant heating lines, I had to first put down the vapor barrier and then the foam board insulation and reinforcing wire mesh. The installation of the radiant lines wasn’t difficult at all, just a little time consuming considering there was close to 1,200 linear feet of tubing that needed to be zip-tied to the wire mesh… approximately every two feet. I had to make some minor adjustments due to the interior footings and support pads, but it wasn’t a big deal.
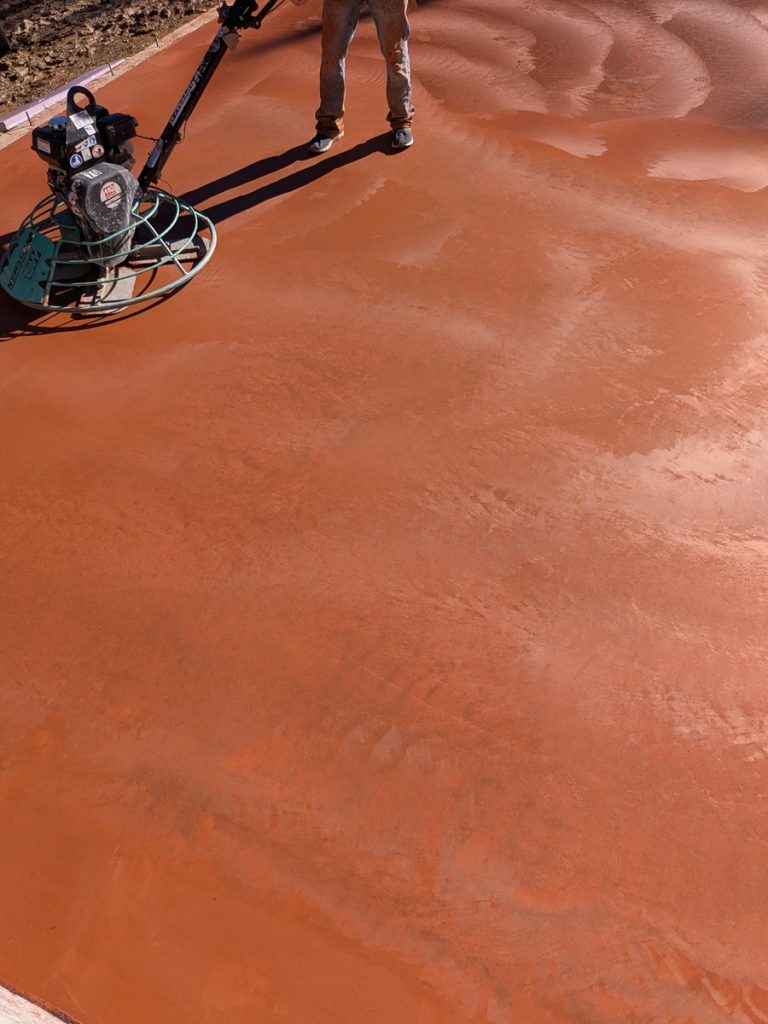
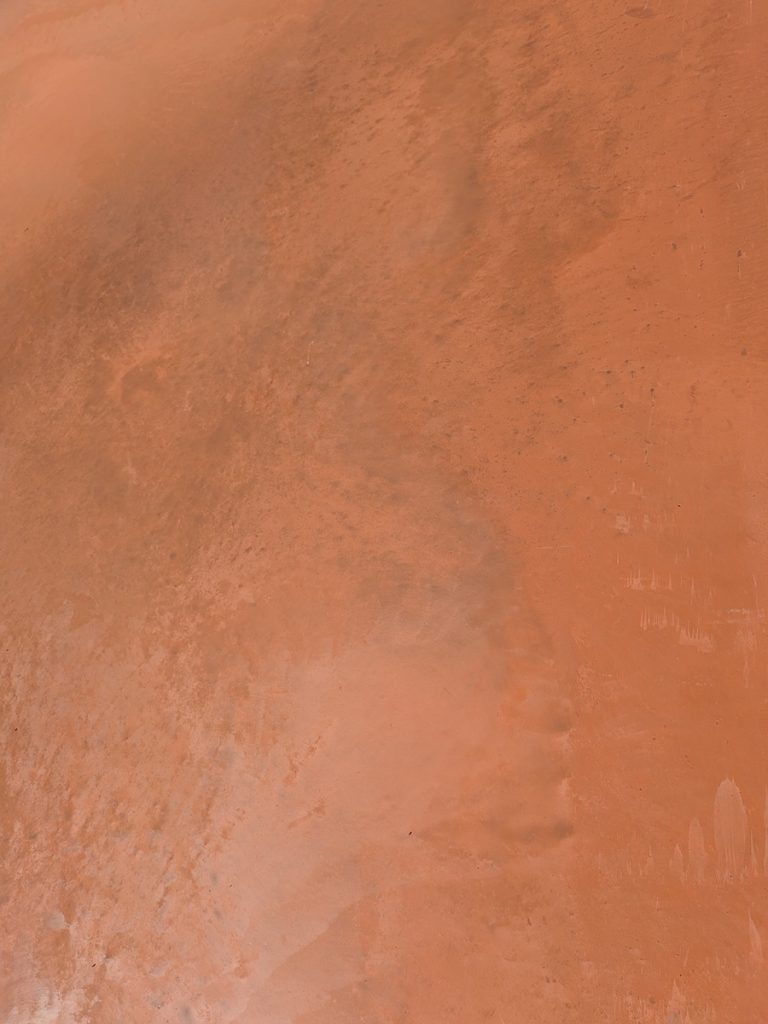
Regarding the flooring, when I had the lower level slab poured, I opted to incorporate a custom color and finish. My rational was I could create a unique look and finish since I had to pour a concrete slab for the lower level anyway. By doing this, I eliminated the additional cost of installing tile, which was my original plan. The more I thought about it, the more it made sense because the lower level is where the spare bedrooms, second bathroom, and rec-room are located, which will primarily be used when my daughters are visiting, or when I have company staying. The cost to add the custom color was approximately $2,100 which is a lot less than buying 1,200 square feet of tile and having it installed. The final result turned out really nice, these pictures don’t do it justice since the concrete was still wet and curing. The end result is a bit darker and looks like aged terracotta.
With all the hard work done and the preliminary foundation backfill complete, it was finally time to move on to the framing. The framing crew I hired was based on positive recommendations from the excavator that did the foundation prep work, the foundation company I hired, and the concrete contractor that poured the lower level slab. Given everything I went through with the initial builder, it has been really reassuring to hear the positive comments regarding the various contractors I’ve hired… the foundation contractor was glad I hired the excavator I did… the framers where glad I hired the foundation company and flat-work concrete contractor I did….
I am one week into framing and I’m amazed at the progress they have made. The week started with clear blue skies and temperatures near 50 degrees. On Wednesday, I woke up to six inches of snow on the ground and it was a mad-dash to shovel the snow from the drive and lower level so the framers could get in to work. As the day progressed, it turned into another clear blue sky day as you can see in the picture on the left. By the end of the week, they had almost completed all of the framing. The weather has remained favorable and it looks like it will continue to be for the next two weeks.
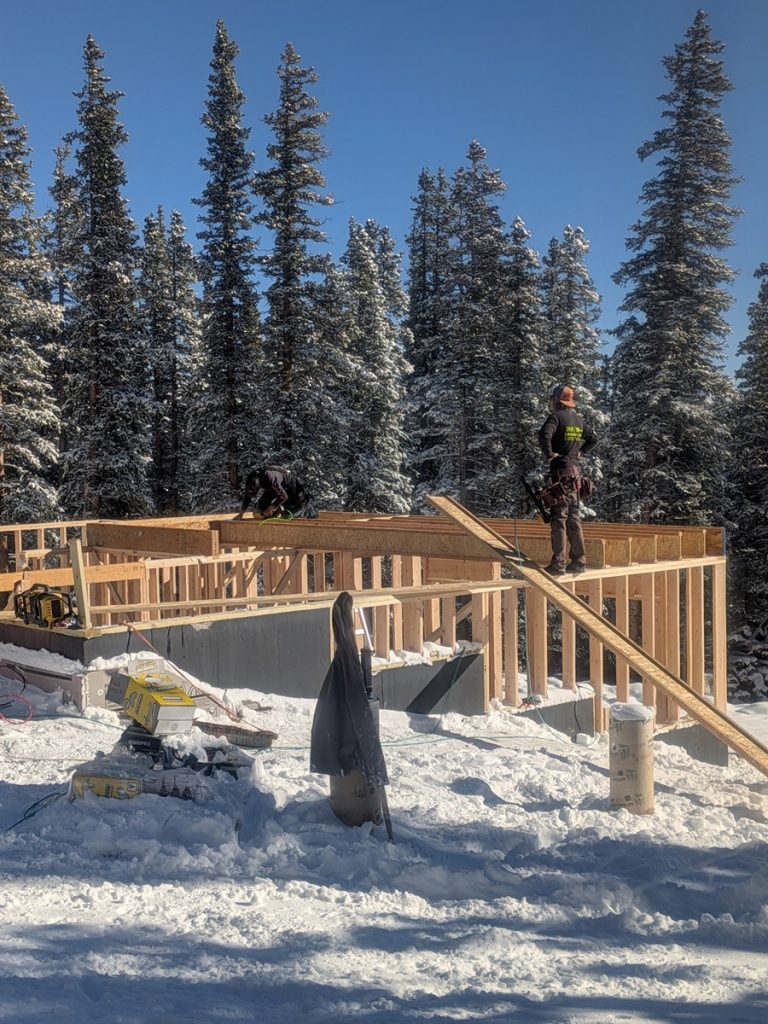
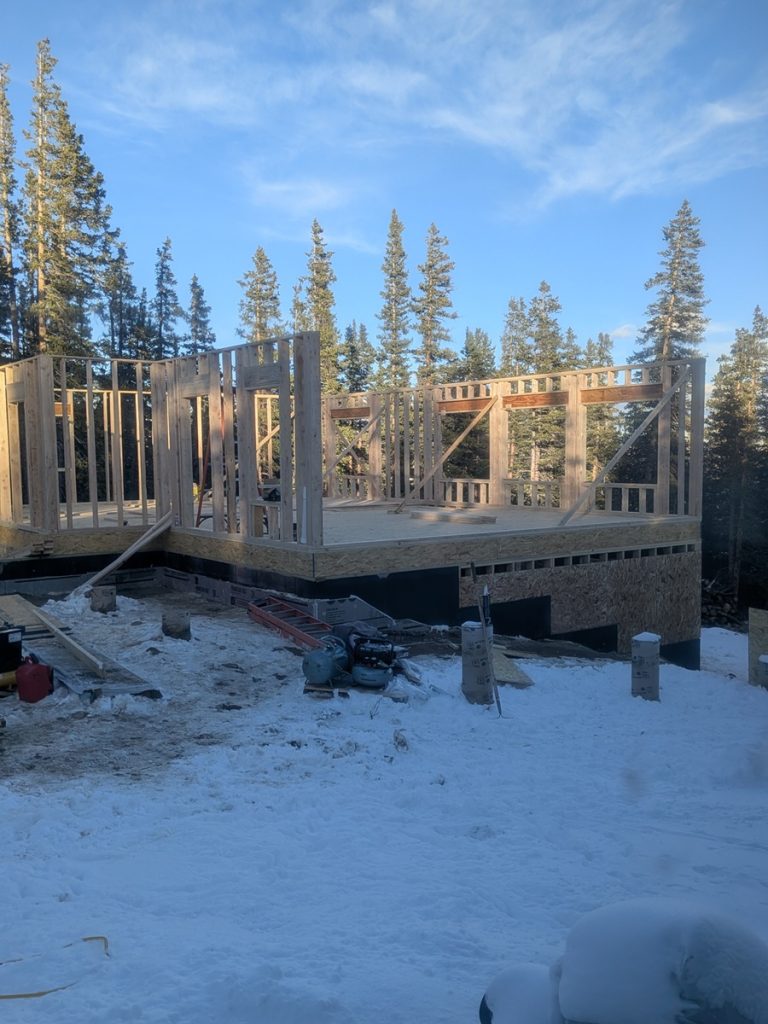
Tomorrow is the start of week two of framing. The last exterior wall will be framed along with the interior walls and front of the garage (not shown in the pictures). Then on Tuesday the roof trusses arrive. By the end of week two, the trusses and roof decking should be installed, along with the water and ice shield.
Next up will be to install the radiant heating lines for the main level and then have the gypcrete poured. Once that’s done, the plumber and electrician will be able to start. While this is going on, the framers will be able to apply the exterior sheathing and vapor barrier. By the end of the month the house should be dried in, minus the windows, which won’t be available until early December since they had to be custom ordered.
As I mentioned at the start, a lot has transpired in a relatively short period of time. Over a four month period I’ve gone from foundation to framing almost complete. Of all the tasks completed so far, I was the cause for the longest delay since it took me about three weeks to do the foundation damp-proofing, footer drain, and insulation myself.
It has been back-breaking work at times, but it has also been extremely rewarding to see the progress and to know things are being done right this time. The goal is to be completely dried in before winter really hits… fingers crossed Mother Nature continues to play nice….